Hello there, fellow yarn enthusiasts! Get ready to dive into the utterly adorable world of crochet with this delightful No-Sew Crochet Axolotl Pattern. Imagine a plump, squishy friend with its signature frilly gills, big, curious eyes, and a sweet, contented smile – all brought to life through the magic of crochet, and even better, with absolutely NO sewing required!
This project is an absolute dream for beginners looking to tackle a fun, rewarding make, or for anyone needing a charming, handmade gift that’s guaranteed to bring smiles. Plus, these little guys make the most precious, quirky additions to any shelf or desk! Inside, you’ll discover simple, step-by-step instructions to create your very own axolotl, mastering techniques like magic circles, single crochets, and basic increases, all while keeping those needle-and-thread worries at bay. Let’s get crafting and bring these underwater wonders to life!

Dive into Cuteness: Crafting Your Own No-Sew Crochet Axolotl!
There’s something undeniably charming about axolotls. With their perpetually serene smiles and feathery external gills, these aquatic amphibians have captured hearts worldwide. Now, you can bring that same delightful charm into your home with a no-sew crochet axolotl! This pattern is a fantastic project for crocheters of all levels, offering a rewarding and surprisingly simple way to create an adorable amigurumi friend. Forget wrestling with needle and thread; this design is all about seamless crafting and pure, unadulterated cuteness.
Yarn and Hook: Choosing Your Aquatic Palette
The foundation of any amigurumi creation lies in your yarn and hook selection. For our no-sew axolotl, we’ll be aiming for a smooth, slightly fluffy texture that gives our little friend a soft, huggable feel.
Yarn:
Medium Weight (Worsted Weight) Acrylic Yarn: This is your go-to choice for amigurumi. Acrylic is durable, washable, and comes in an incredible array of colors, perfect for replicating the diverse hues of real axolotls or going wild with your imagination. Brands like Red Heart Super Saver, Lion Brand Vanna’s Choice, or Caron Simply Soft are excellent options.
Yarn Weight: Aim for a yarn labeled as “Worsted” or “Aran” (US sizes 4 or 5). This weight provides a good balance for amigurumi, allowing for detailed shaping without being too bulky.
Color Choices: Embrace the axolotl spectrum! Classic choices include pale pink, white, or light grey. For something more vibrant, consider turquoise, lavender, or even a sunshine yellow. Don’t be afraid to mix and match for unique markings or a rainbow axolotl! You’ll need a main color for the body and smaller amounts for the gills and any other decorative elements.
Hook:
Size: A hook slightly smaller than recommended on your yarn label is crucial for amigurumi. For worsted weight yarn, a 3.25mm (D/3) or 3.5mm (E/4) crochet hook is usually ideal. This tighter gauge prevents stuffing from showing through your stitches, ensuring a neat and professional finish.
Material: Choose a hook that feels comfortable in your hand. Aluminum hooks are popular for their smooth glide, while bamboo hooks offer a bit more grip, which can be helpful for beginners.
Stitching Up Cuteness: Essential Techniques
This no-sew pattern relies on a few core crochet techniques that are fundamental to amigurumi. If you’re new to these, don’t worry – they’re surprisingly easy to master!
Magic Ring (or Magic Circle): This is the secret to creating a tight, seamless starting circle for amigurumi. It allows you to pull the stitches closed, leaving no unsightly hole in the center. Many tutorials are available online, and once you get the hang of it, you’ll wonder how you ever crocheted without it!
Single Crochet (sc): This is the workhorse stitch of amigurumi. It creates a dense fabric perfect for stuffed toys. You’ll be working almost exclusively in single crochet for this pattern.
Increases (inc): To make your crochet piece grow larger, you’ll use increases. This involves working two single crochet stitches into the same stitch from the previous round. This will shape the round body of your axolotl.
Decreases (dec): To make your crochet piece smaller and shape it, you’ll use decreases. The most common and neatest method for amigurumi is the invisible decrease. This involves working a single crochet into the front loop only of the next two stitches. You’ll then pull up a loop through both front loops and yarn over to complete the single crochet. This creates a smooth, less noticeable decrease.
Working in Continuous Rounds: Amigurumi is typically worked in continuous rounds, meaning you don’t join at the end of each round with a slip stitch and chain up. Instead, you’ll use a stitch marker to keep track of the beginning of each round. This creates a smooth, spiral fabric.
A Helping Hand for Beginners: Tips for a Smooth Crochet Journey
This no-sew pattern is designed with beginners in mind, but a few extra tips can make your experience even more enjoyable and successful.
Tension is Key: Try to maintain consistent tension throughout your work. If your stitches are too loose, your stuffing will peek through. If they’re too tight, it can be difficult to work into the stitches. Practice makes perfect!
Use a Stitch Marker: Seriously, don’t skip this! A stitch marker will be your best friend for keeping track of the beginning of each round. Place it in the first stitch of every new round.
Stuffing Strategically: Don’t overstuff! Start stuffing lightly as you crochet and add more as you go. You want your axolotl to be firm enough to hold its shape but still soft and huggable. Stuff the head and body firmly, but be a little more gentle around the thinner parts like the tail.
Weave in Ends as You Go: To avoid a tangled mess later, weave in your yarn ends as you complete each section or color change. This will make finishing much smoother.
Don’t Be Afraid to Undo: We’ve all been there! If you realize you’ve made a mistake a few rounds back, it’s better to gently unravel and correct it than to power through and end up with a wonky axolotl.
Unleash Your Creativity: Customizing Your Axolotl
The beauty of amigurumi is its incredible potential for customization. Our no-sew axolotl pattern is a perfect canvas for your unique artistic flair.
Color Play: Beyond the classic axolotl colors, why not create a galaxy axolotl with dark blues and shimmering silver? Or a pastel dream with soft lavenders and pinks? You can also add stripes, spots, or even gradients by changing colors mid-round.
Glow-in-the-Dark Fun: Imagine a mystical axolotl that glows in the dark! There are specialty yarns available that offer this magical effect.
Accessorize! While this pattern is no-sew for the main body, you can add embroidered eyes, mouths, or even little felt accessories like tiny hats or scarves. Safety eyes can also be securely attached before stuffing and closing the final opening for a classic amigurumi look.
Size Matters: The beauty of crochet patterns is their scalability. If you want a larger axolotl, simply use a thicker yarn and a corresponding larger hook. For a miniature version, opt for thinner yarn (like DK or sport weight) and a smaller hook. Remember that the stitch counts per round will remain the same, but the overall size will adjust.
Caring for Your Crochet Companion
Your handmade axolotl is a special creation, and with a little care, it will bring joy for years to come.
Washing: For acrylic yarns, a gentle machine wash on a cool or warm cycle is usually sufficient. Place your axolotl in a mesh laundry bag to protect it from snagging.
Drying: Air drying is the best method. Lay your axolotl flat on a clean towel and reshape it as needed. Avoid putting it in a dryer, as the heat can damage the acrylic fibers and potentially melt any plastic parts like safety eyes.
Spot Cleaning: For minor spills or dirt, a damp cloth with a tiny amount of mild soap can be used to gently spot clean the affected area.
Beyond a Toy: Project Ideas for Your No-Sew Axolotl
While your no-sew axolotl will undoubtedly make a fantastic plush toy, its potential extends far beyond that!
Gifts Galore: An axolotl is a unique and heartfelt gift for birthdays, holidays, or just because. Imagine the delight of a child receiving their very own handmade axolotl!
Desk Buddy: Place your cheerful axolotl on your desk to add a touch of whimsy to your workspace. It’s a guaranteed mood booster!
Nursery Decor: A pastel-colored axolotl can be a charming addition to a baby’s nursery.
Market Stall Star: If you’re a crafter who sells your creations, these adorable axolotls are sure to be a hit at craft fairs and markets.
Photography Prop: Their unique appearance makes them excellent props for creative photography projects.
With its simple construction and endless possibilities for personalization, the no-sew crochet axolotl pattern is a delightful project that promises both a satisfying crafting experience and an incredibly cute finished product. So grab your yarn, hook up some smiles, and dive into the wonderful world of axolotl amigurumi!
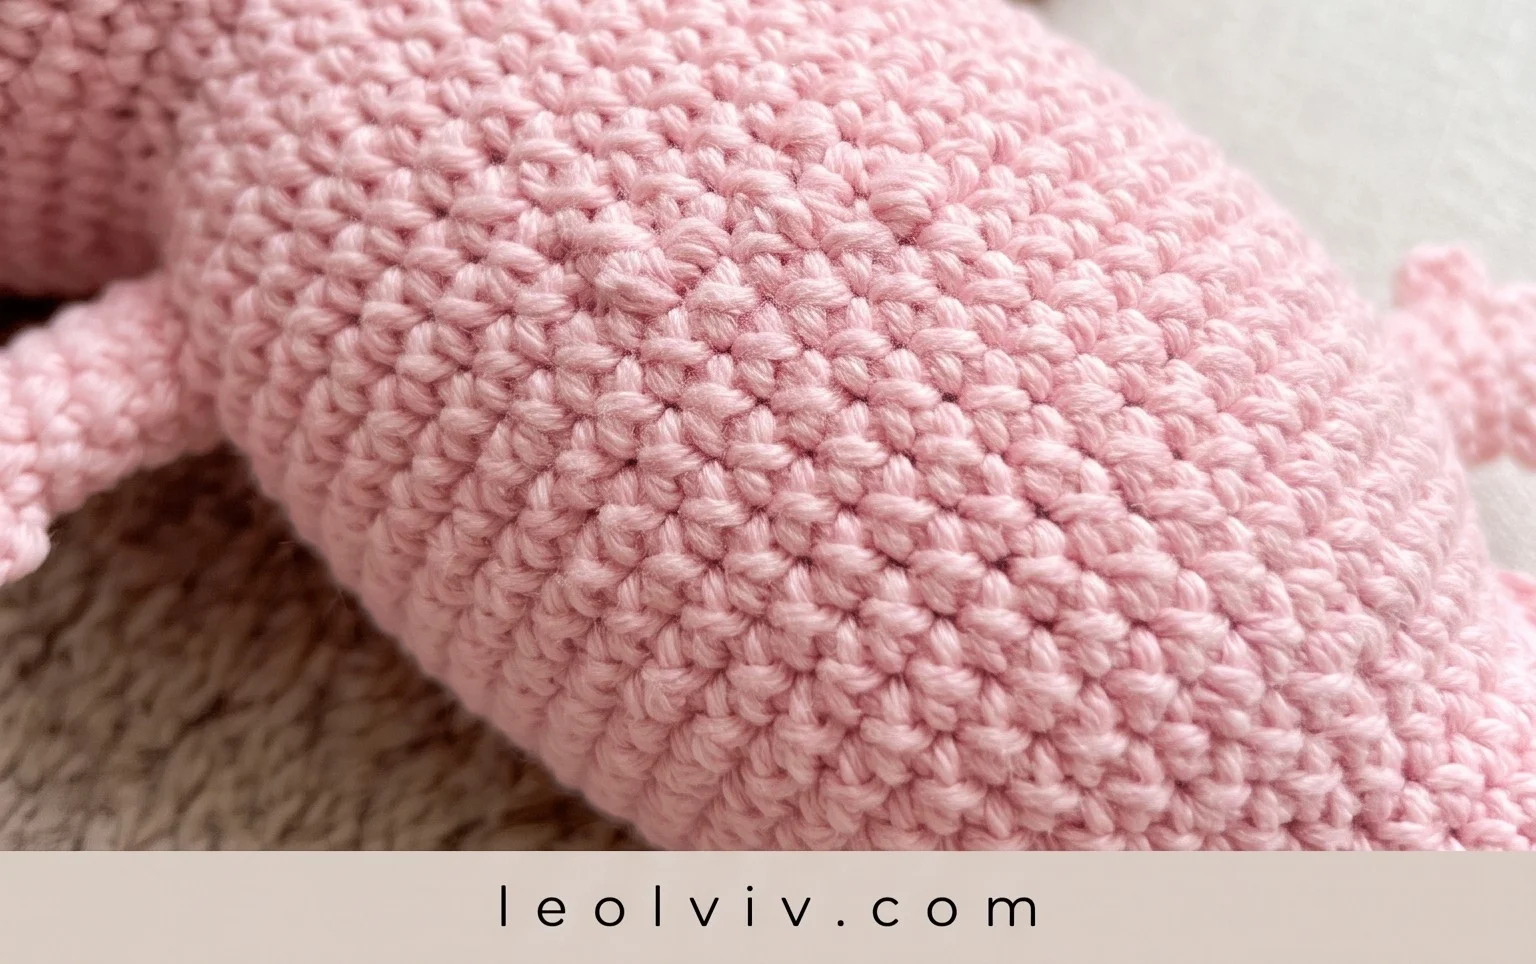
We hope you’ve had a delightful time bringing your no-sew crochet axolotl to life! This quick and easy pattern is perfect for crocheters of all levels, and the joy of a finished amigurumi friend without any sewing is truly special. We can’t wait to see your adorable axolotls! Don’t forget to share your finished creations on social media using #NoSewAxolotl and tag us – we love seeing your unique takes!
Feel free to get creative with color combinations or add your own embellishments like tiny hats or scarves. And if you’ve enjoyed this project, be sure to explore our other patterns for more crocheting adventures. Happy stitching!